Canning Baked Beans with Bacon: My Dump-and-Go Jar Method (Plus the Tested Way)
We may earn money or products from the companies and/or products mentioned in this post. Get this post in a printable format. Sign up for the Printables Vault and get access sent to your inbox immediately! Then add it to your Freeze Drying Binder!
Confession: I made these baked beans while making dinner, refereeing kids and answering “Mom, where’s my…” about forty times. That’s exactly why I love this method. You layer everything right in the jar, top it with water, and let the pressure canner do the work. A few hours later you’ve got shelf-stable baked beans with bacon, ready for cookouts, potlucks or a “nobody wants to cook tonight” dinner.
I’m going to show you exactly how I did it, and I’m also going to give you the tested method, because when it comes to low-acid food like beans and bacon, you deserve to know the difference. More on that below.
What You’ll Need
- Dry navy beans (or other small white beans)
- Bacon, cut into pieces
- Onion, chopped (I used red onion)
- Green bell pepper, chopped
- Ketchup
- Light brown sugar
- Molasses
- Onion powder, garlic powder, black pepper and salt
- Water
- Pint or quart canning jars, new lids and rings
- A pressure canner (this is not optional for beans and meat)
How Much Goes in Each Jar
| Ingredient | Pint | Quart |
|---|---|---|
| Dry navy beans | 1/2 cup | 1 cup |
| Onion, chopped | 1/4 onion | 1/3 onion |
| Green pepper, chopped | 1/4 cup | 1/2 cup |
| Bacon pieces | 1/4 cup | 1/2 cup |
| Ketchup | 1/4 cup | 1/2 cup |
| Light brown sugar | 1/8 cup (2 Tbsp) | 1/4 cup |
| Molasses | 1 Tbsp | 2 Tbsp |
| Onion powder, garlic powder, pepper, salt | shake-shake-shake (I never measure!) | shake-shake-shake (I never measure!) |
| Water | to 1 inch headspace | to 1 inch headspace |
How I Do It (My Rebel Dump-and-Go Jars)
This is the real-life, kitchen-table version. Yes, there were beans all over the counter. 😂
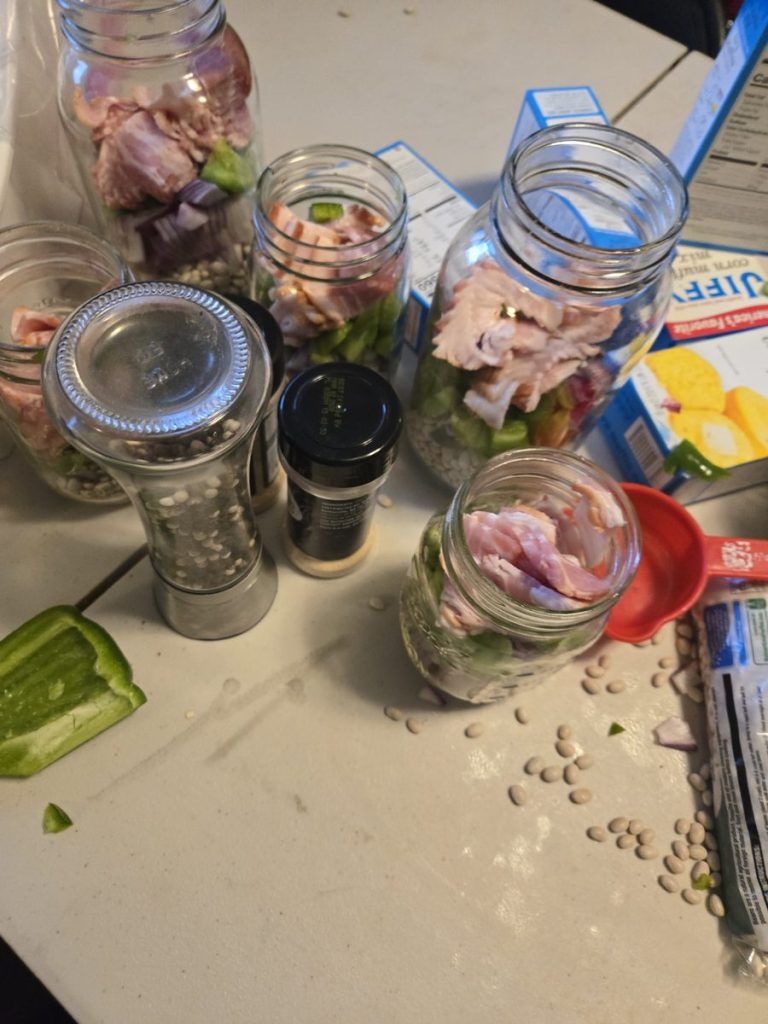
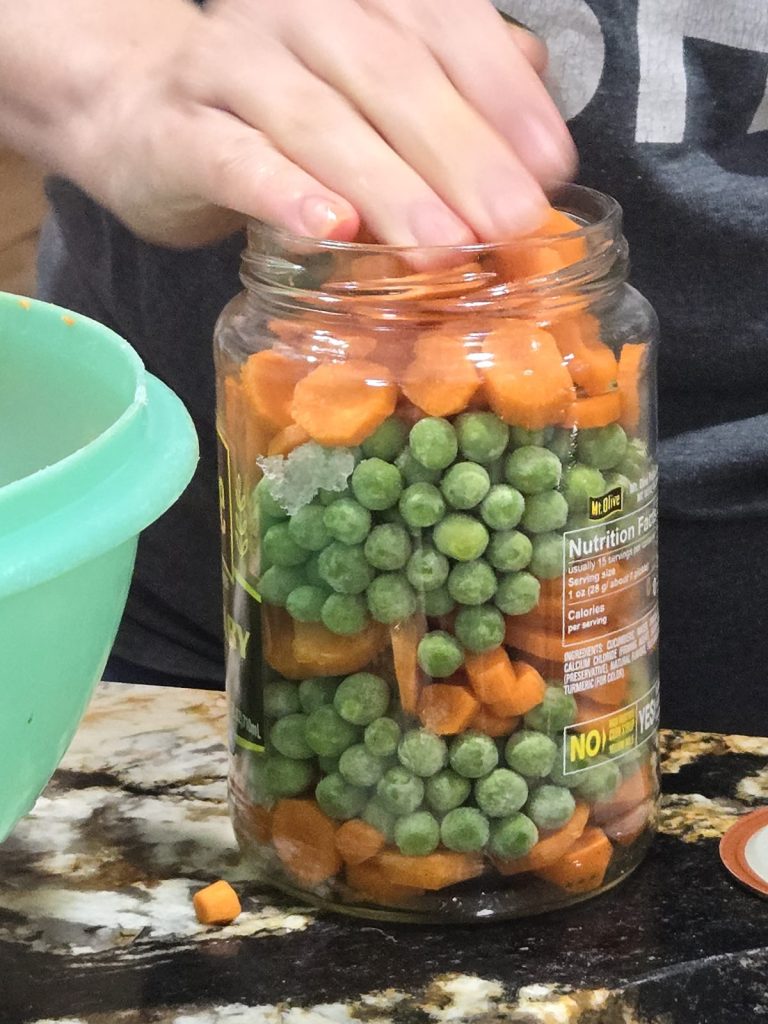
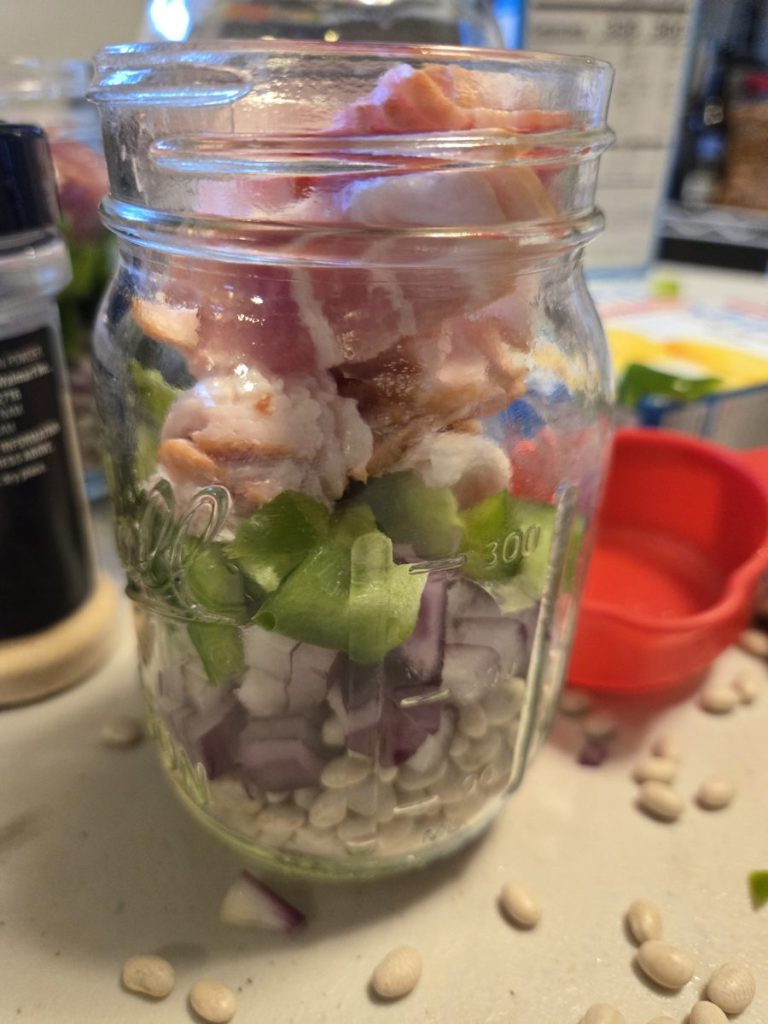
- Beans first. Pour the dry beans into the bottom of each clean jar.
- Onion and pepper. Layer the chopped onion, then the green pepper.
- Bacon on top. Pack in the bacon pieces.
- Sauce and seasoning. Add the ketchup, brown sugar and molasses, then onion powder, garlic powder, pepper and salt. I don’t measure these: it’s literally shake-shake-shake, next jar. Season to your taste.
- Top with water. Fill with water, leaving 1 inch of headspace. Run a knife or bubble tool around the inside to release air, and add a little more water if needed.
- Lids on. Wipe the rims (bacon grease on the rim is the #1 reason for failed seals), add lids and rings fingertip tight.
- Pressure can. I used my Presto Precise digital pressure canner, which controls the pressure for you. I ran mine for 90 minutes for both pints and quarts.
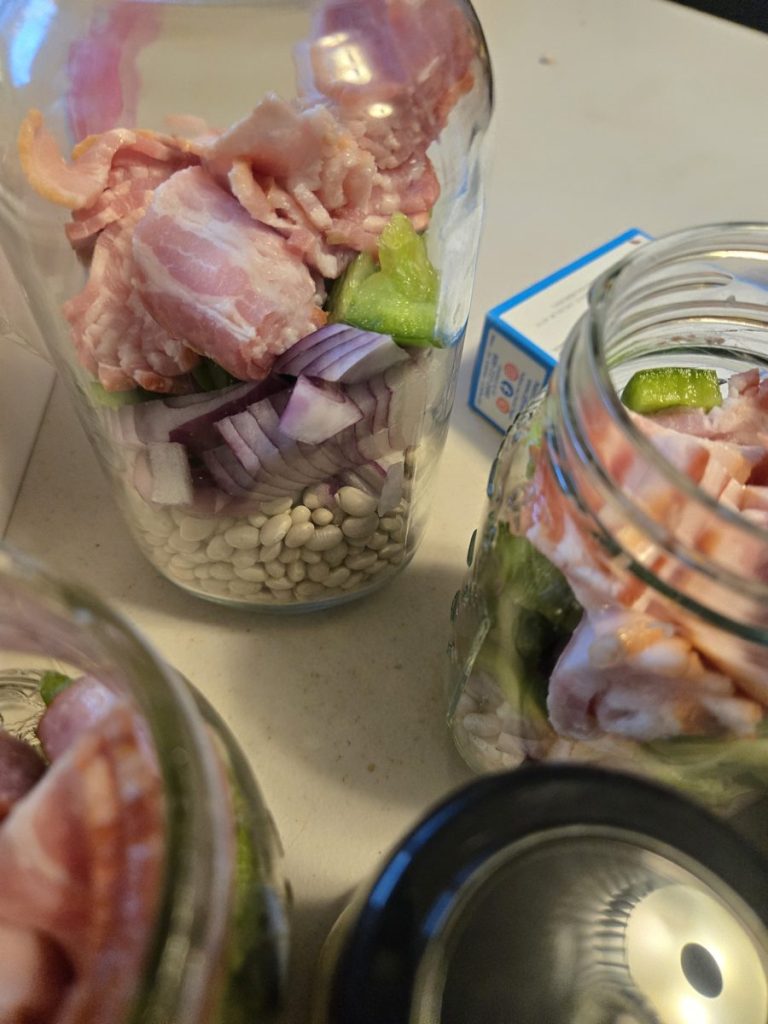
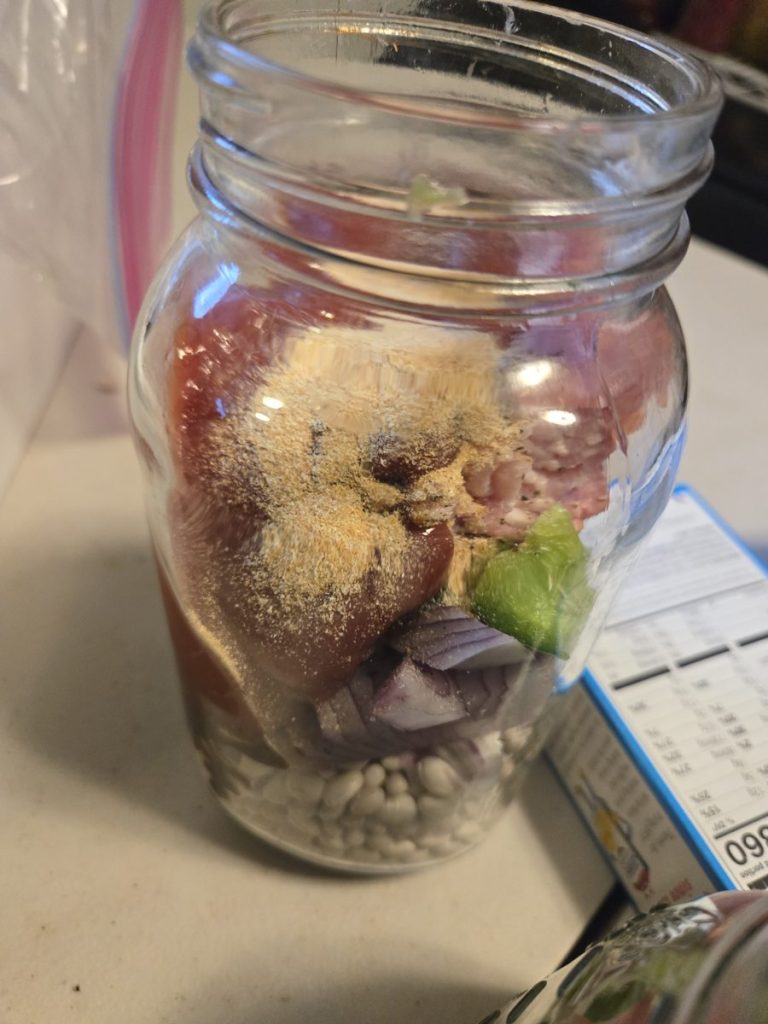
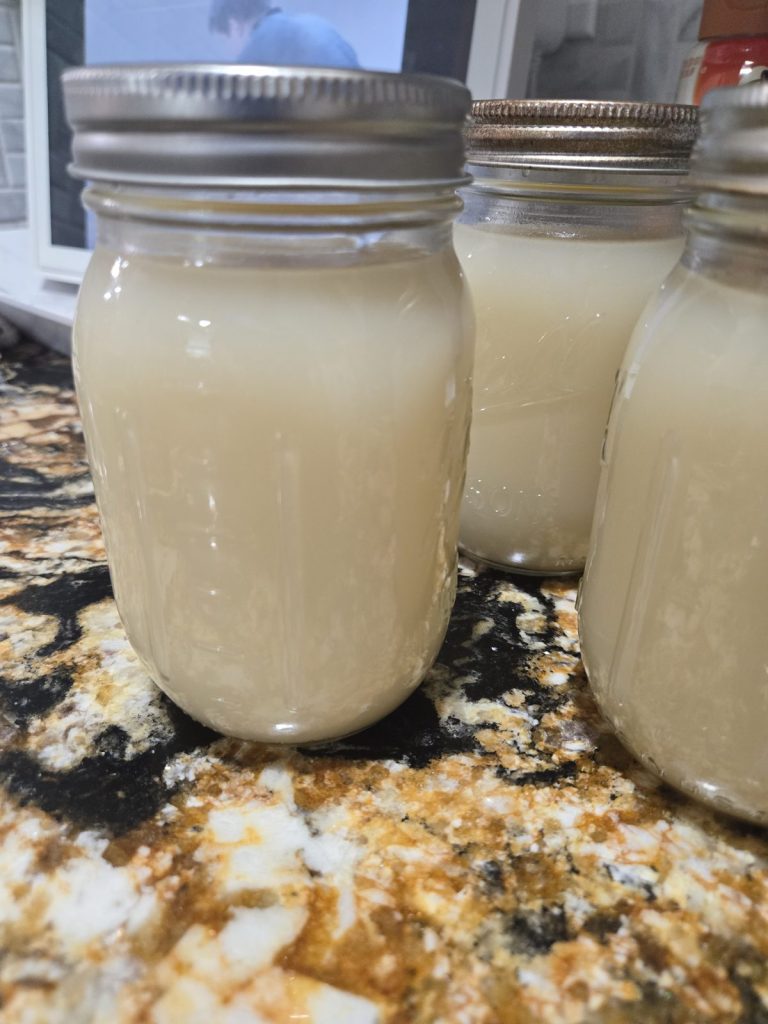
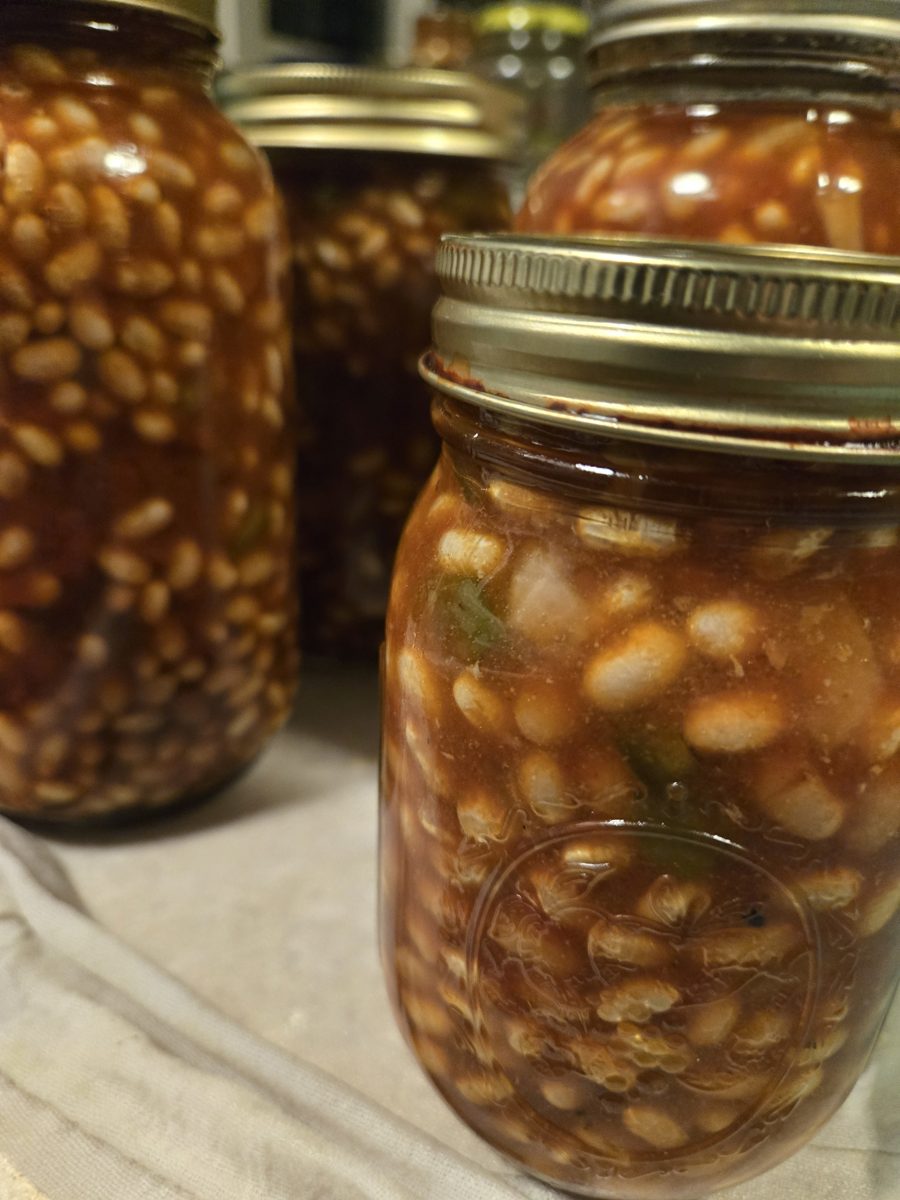
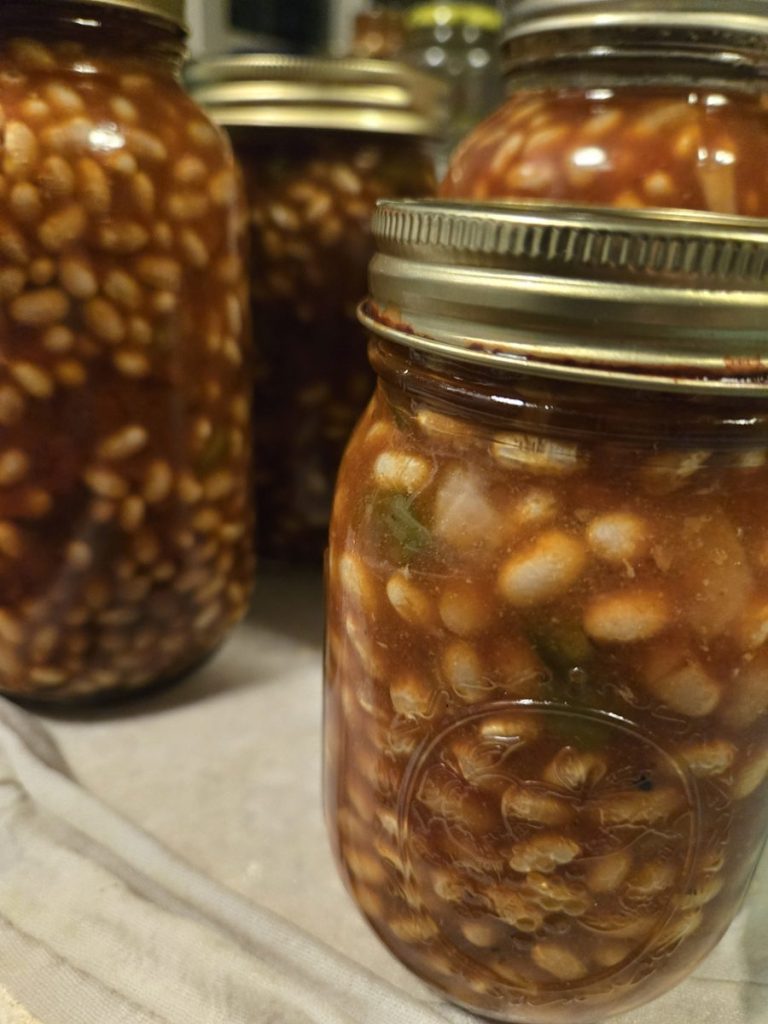
When they come out of the canner, the jars look a little wild: the sauce sits on top, the beans are on the bottom, and there’s foam and bacon fat floating around. That’s normal! Once the lids have pinged and sealed, I give each jar a gentle shake as they cool so the sauce mixes down through the beans. Then let them sit 12 to 24 hours and check your seals.
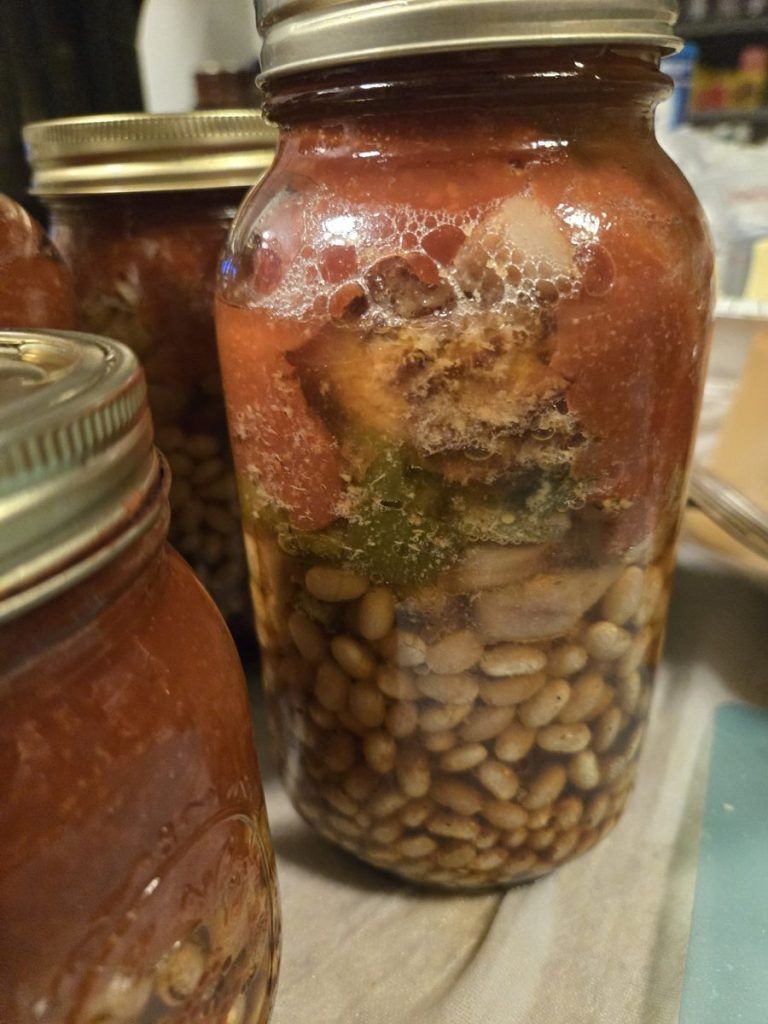
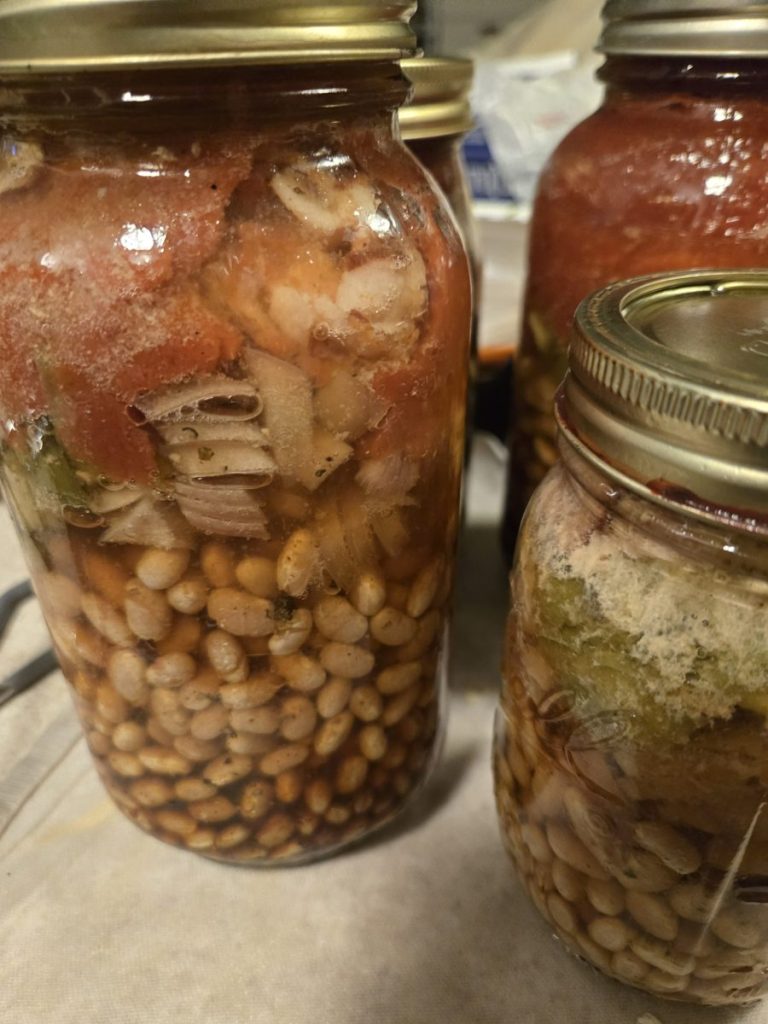
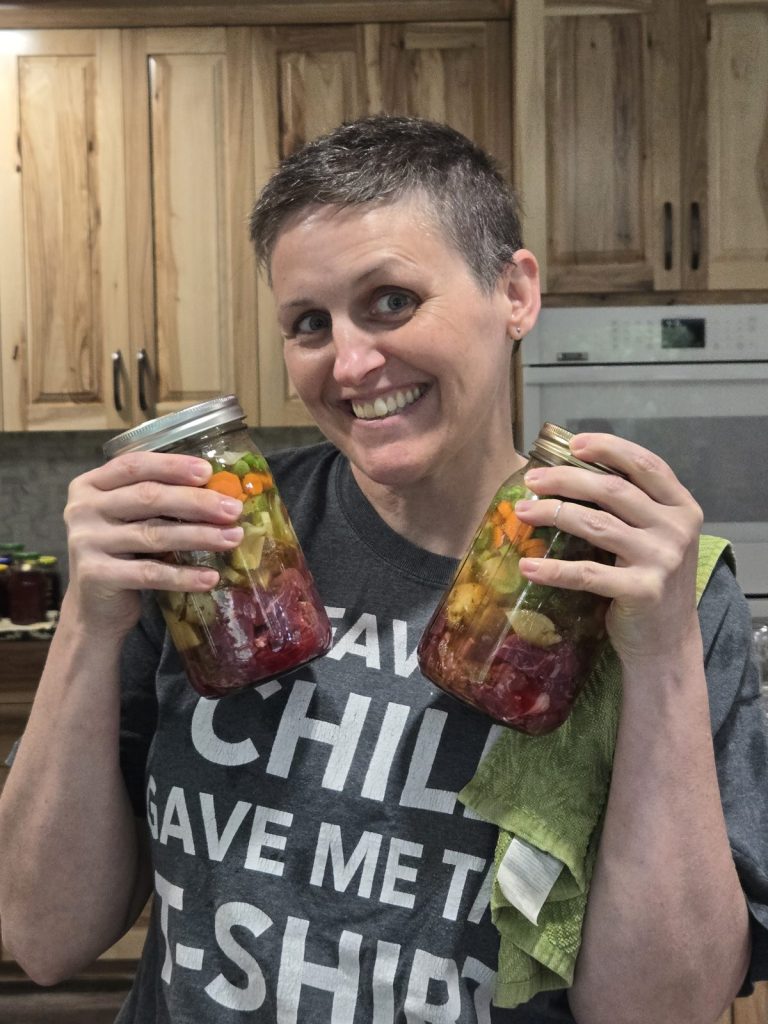
How did they turn out? Every single jar sealed, the beans were soft all the way through, and honestly they turned out gorgeous. That rich, glossy, BBQ-red color with little pieces of bacon and green pepper all through it? Yes, please. 😍 The boys were literally fighting over who got to eat them.
⚠️ Please Read: The Tested (Safe) Way to Can Baked Beans
I’m a rebel canner and I share exactly what I do in my own kitchen. But I want to be really clear with you: putting dry, unsoaked beans straight into the jar is not a tested method. Beans, onions, peppers and bacon are all low-acid foods, and botulism is a real risk if heat doesn’t get all the way through the jar. Thick sauce and dry beans that swell during processing can slow that heat down. The USDA and the National Center for Home Food Preservation specifically say not to can dry beans without soaking and pre-cooking them first.
If you want the tested version, here it is:
- Soak the dry beans overnight (12 to 18 hours), or bring to a boil for 2 minutes and soak 1 hour. Drain.
- Cover with fresh water and boil the beans for 30 minutes.
- Make a hot sauce (tomato or molasses based), and combine with the hot beans and your bacon or salt pork.
- Fill hot jars with the hot beans and sauce, leaving 1 inch headspace. Remove air bubbles, wipe rims, and add lids.
- Process in a pressure canner only: Pints 65 minutes, Quarts 75 minutes, at 10 lb pressure (weighted gauge) or 11 lb (dial gauge) at 0 to 1,000 feet. Increase pressure for higher altitudes.
Never water bath can beans or anything with meat. It does not get hot enough. If you use an electric pressure canner like the Presto Precise, follow the manufacturer’s manual and recipes for your model. And remember: when in doubt, throw it out. Never taste a jar that’s unsealed, leaking, bulging, spurting or smells off.
How to Serve Home-Canned Baked Beans
- Dump a jar into a pot, stir well, and simmer 10 minutes. (Boiling home-canned low-acid food for 10 minutes before eating is an extra safety step a lot of canners swear by.)
- For a thicker, oven-baked texture, pour into a baking dish and bake at 350°F for 30 to 45 minutes.
- Serve with cornbread (we’re a Jiffy family), hot dogs, BBQ or as a camping side.
Keep Track of Every Batch
I write down the date, jar size, processing time and pressure for every batch. Grab my free canning log and pantry inventory pages in the Printables Vault. And if you want my canning and freeze drying system all in one place, check out the Freeze Drying Mama Complete Kit.
What should I can next? Tell me in the comments!