Canning Ham and 15-Bean Soup (No Soaking!)
We may earn money or products from the companies and/or products mentioned in this post. Get this post in a printable format. Sign up for the Printables Vault and get access sent to your inbox immediately! Then add it to your Freeze Drying Binder!
When the power went out, we didn’t panic about dinner. I grabbed a few jars of this ham and 15-bean soup off the shelf, heated them up on the propane stove, and everyone went to bed with a full belly that night. That’s exactly why I can meals in jars.
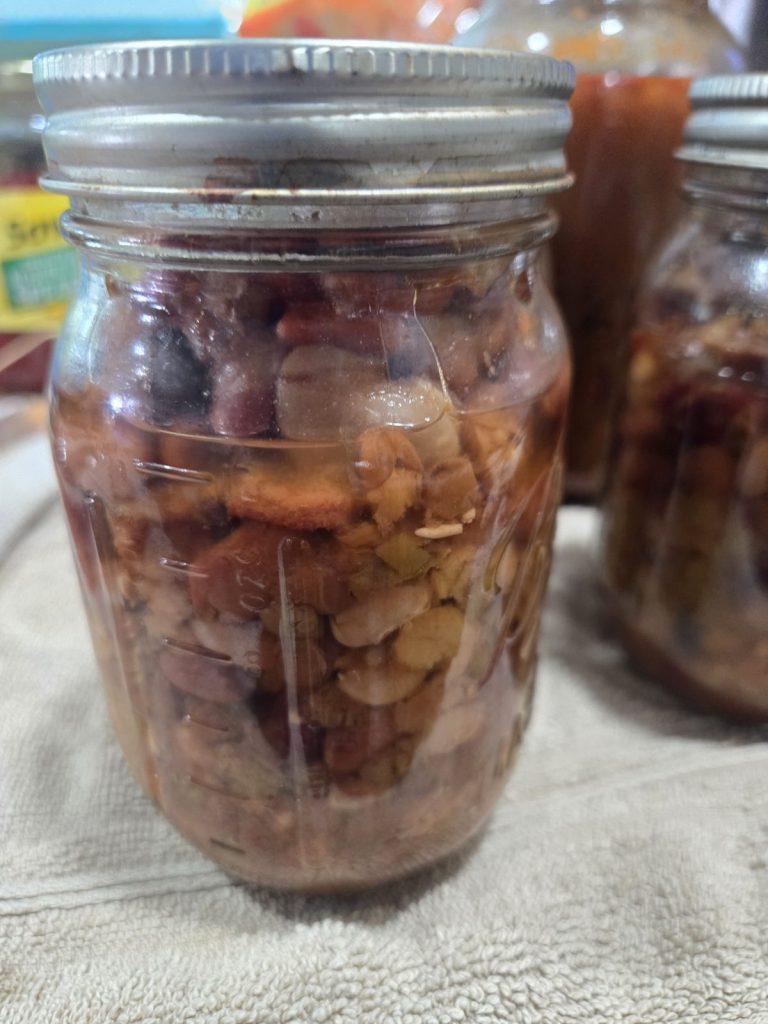
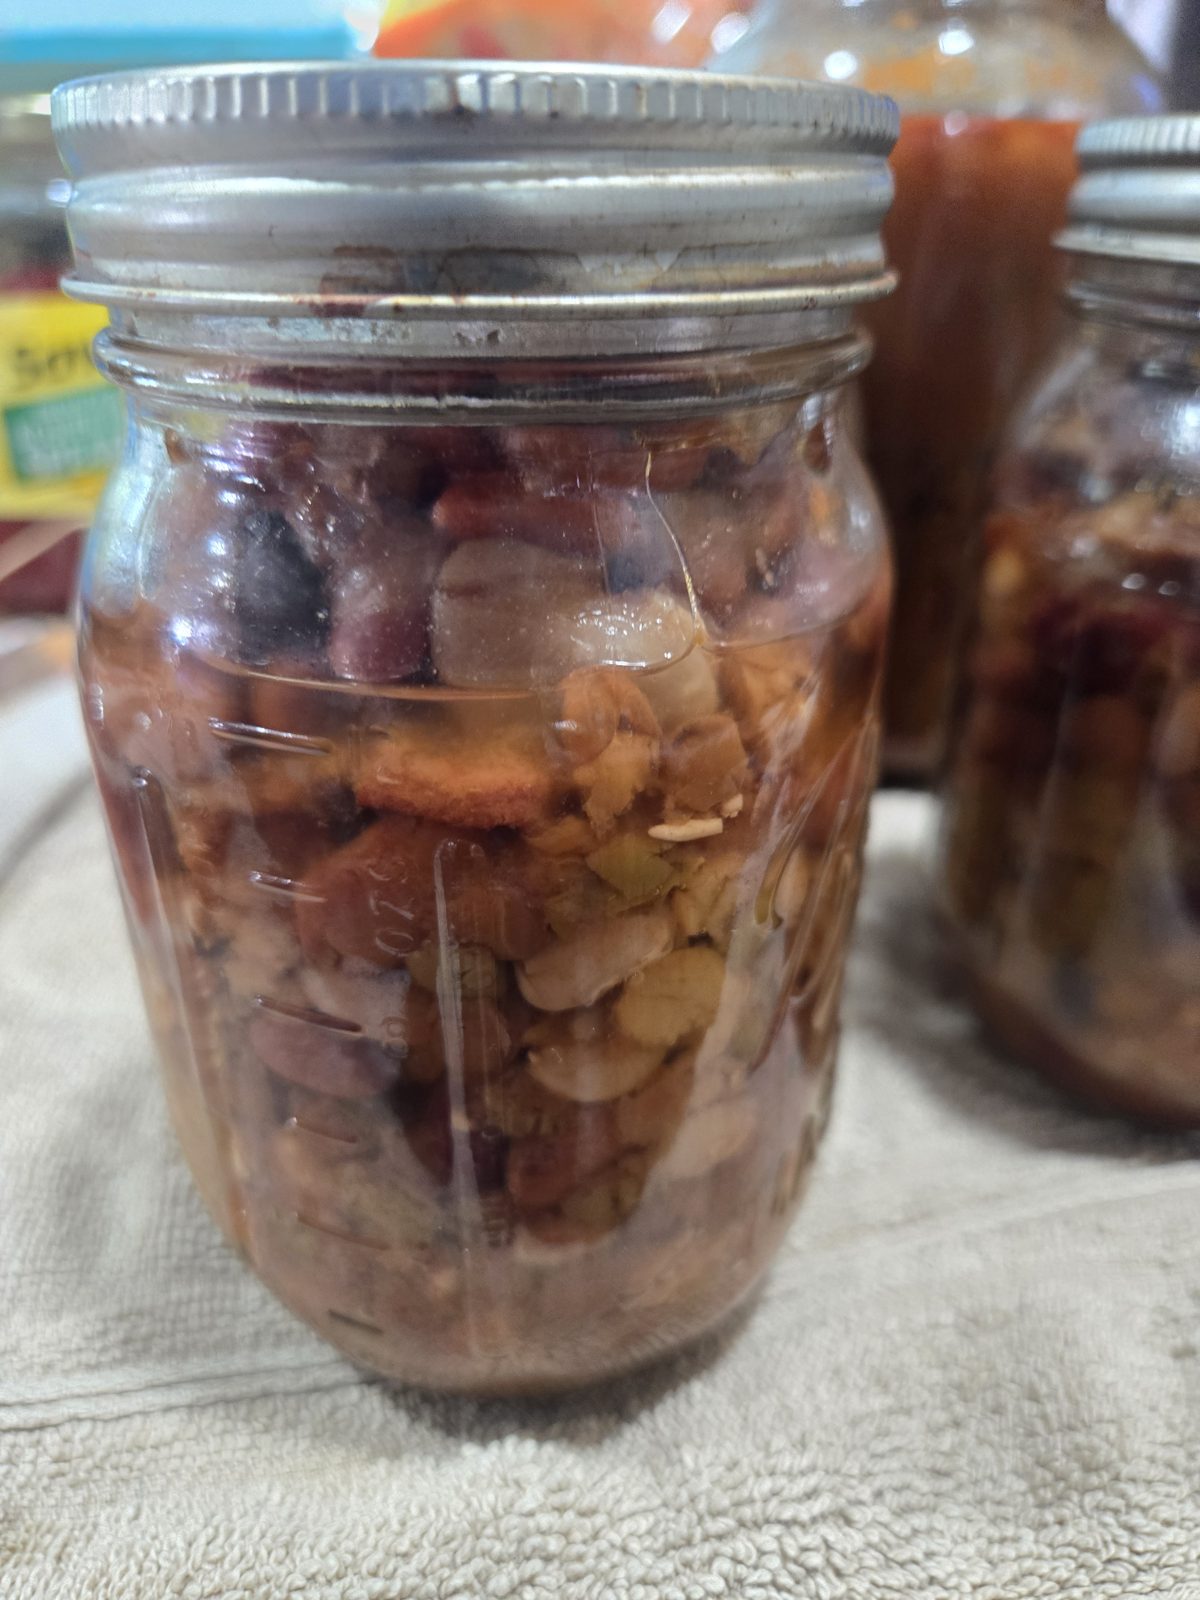
This is one of my favorite “rebel canning” recipes because it’s so simple. I don’t soak or cook the beans first. Dry beans, tomatoes, onion and ham go straight into the jar, I fill it with water, and the pressure canner does the rest. The beans cook right in the jar and soak up all that hammy flavor.
What You’ll Need
- A bag of 15-bean soup mix (save the seasoning packet!)
- Diced tomatoes (canned or fresh)
- Onion, chopped
- Ham, cubed (a ham steak or leftover holiday ham is perfect)
- Extra salt and seasoning (beans soak it up)
- Quart jars, new lids and bands
- A pressure canner

Step by Step: How I Can Ham and 15-Bean Soup
1. Sort the beans and stir in the seasoning
Pour the beans into a big bowl, pick out any little rocks or broken beans, and give them a rinse. I sprinkle the seasoning packet right into the beans so it gets divided between the jars.

2. Add the dry beans to the jars
Scoop the dry beans into the bottom of each jar. Go easy here. Dry beans swell to more than double their size as they cook, so they need lots of room and lots of water.


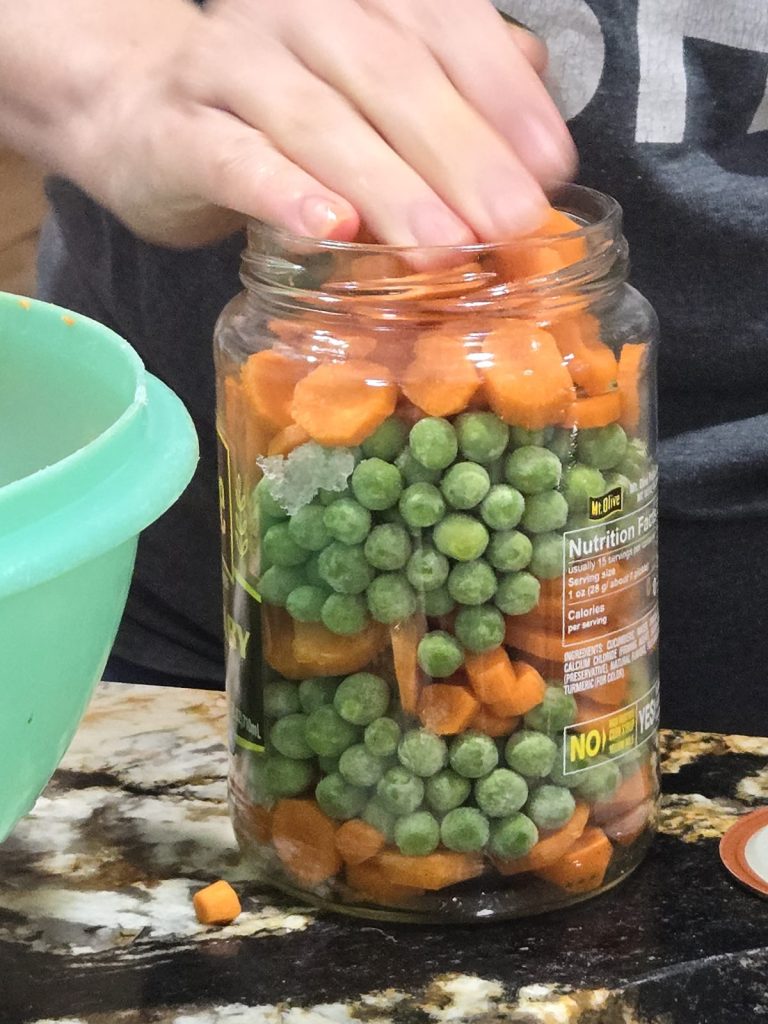
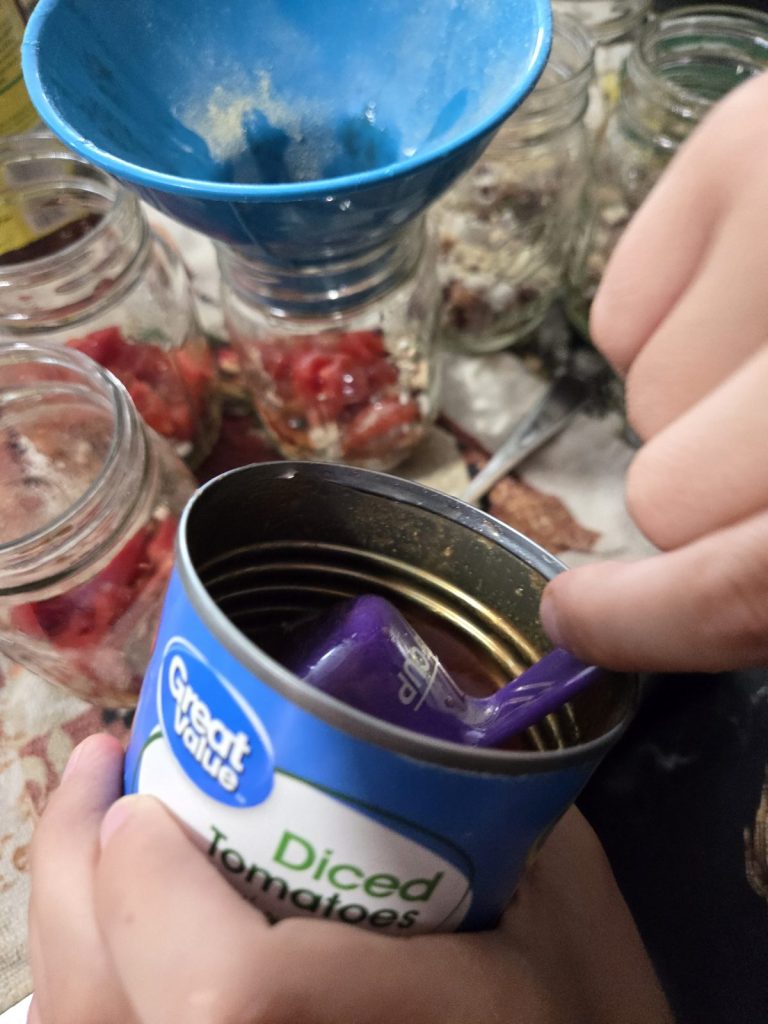
3. Layer in tomatoes and onion

4. Add the ham
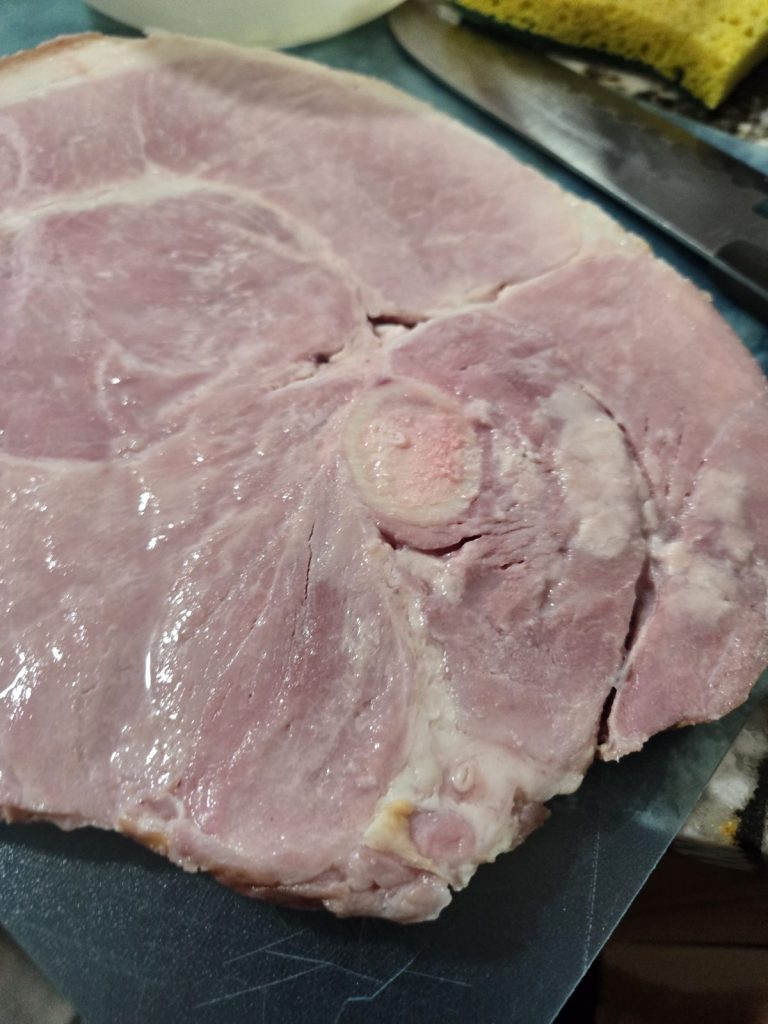
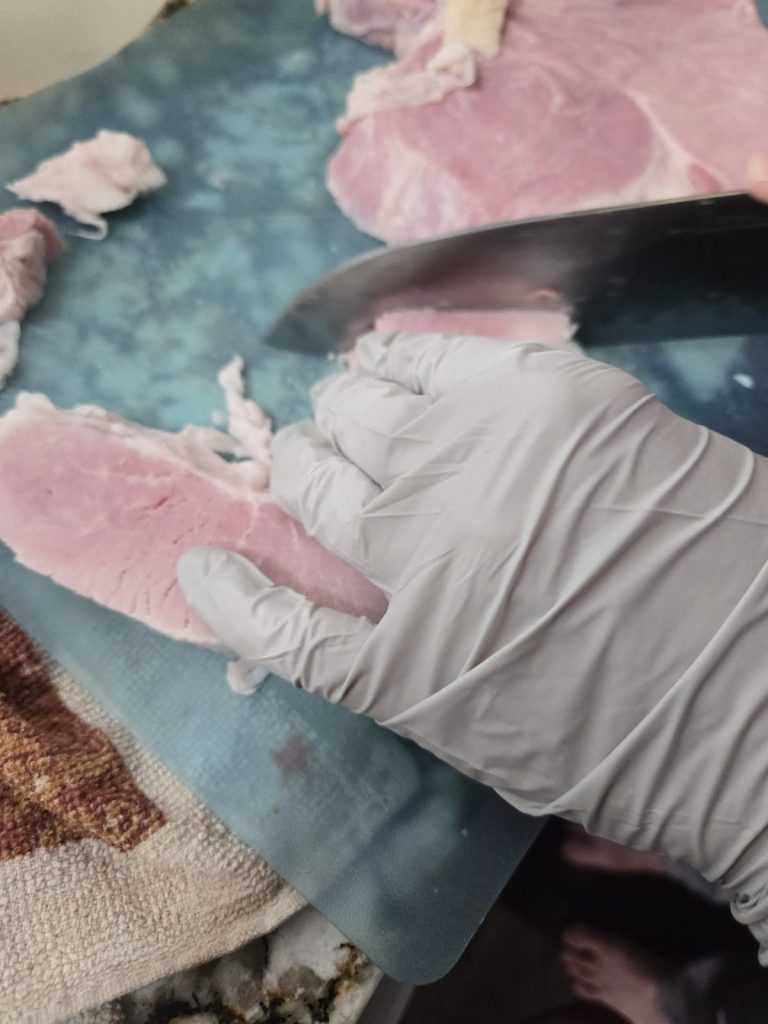
Cut your ham into bite-size cubes and add a handful to each jar.

5. Season it a little extra
Because it’s beans, I add a little extra seasoning and salt to every jar. The beans soak it up as they cook, and you don’t want bland soup.

6. Fill with water and lid
Fill the jars with hot water, leaving 1 inch of headspace. Run a bubble tool around the inside, wipe the rims well (ham can be greasy), and put on the lids and bands.
7. Pressure can for 90 minutes
Load the jars into your pressure canner with the amount of water your manual calls for, vent for 10 minutes, bring it up to pressure, and process quarts for 90 minutes. That’s the same time the USDA uses for quarts of beans and for soups with beans. Use the pressure for your altitude:
| Altitude | Weighted gauge | Dial gauge |
|---|---|---|
| 0–1,000 ft | 10 lb | 11 lb |
| 1,001–2,000 ft | 15 lb | 11 lb |
| 2,001–4,000 ft | 15 lb | 12 lb |
| 4,001–6,000 ft | 15 lb | 13 lb |
| 6,001–8,000 ft | 15 lb | 14 lb |
When the time is up, turn off the heat and let the canner come down to zero on its own. Let the jars rest 12 to 24 hours, check the seals, label and store.
How to Serve It
Pour a jar into a pot, add a little water if it’s thick, and heat it until it’s bubbling hot. Taste and add more seasoning if you need it. It’s a full meal on its own, and it’s even better with cornbread.
Why I Keep Meals in Jars
Power outages, storms, sick days, hunting trips, crazy busy weeknights… a shelf of ready meals takes care of all of them. No electricity needed if you have a propane or camp stove, and nothing has to stay frozen.
Checklists plus a 3-day no-power menu, so you’re ready before the lights go out.
Get it free in the Vault
More canning ideas: canned whole cranberries, homemade beef tallow and soup in a jar. Find them all in the Canning section.